Faber-Castell Mandala Stencils

I love working with stencils. Drawing geometric designs tends to take my mind off of everything else because it requires so much concentration. The stencil below took about 45 minutes to complete. While I was working on it, I thought of nothing other than drawing the tiny, thin lines. I used Faber-Castell Pitt pens in XS and S.

The stencil I chose tonight.

Faber-Castell makes uniquely-designed stencils. They are very precise but they are made out of cardstock – not the plastic I’m used to working with. Even if you tape them securely with painter’s tape, they can still lift up while you are drawing. This could cause messy, uneven lines so you have to be very careful when using them.

Closeup of the stencil.

Regardless, they are so fun to use! I recommend them to anyone who likes zoning out while stenciling and coloring. They are a great way to break a creative block or just to try out new supplies.

Closeup of the finished line work. As you can see, there were a few places where the stencil lifted up.

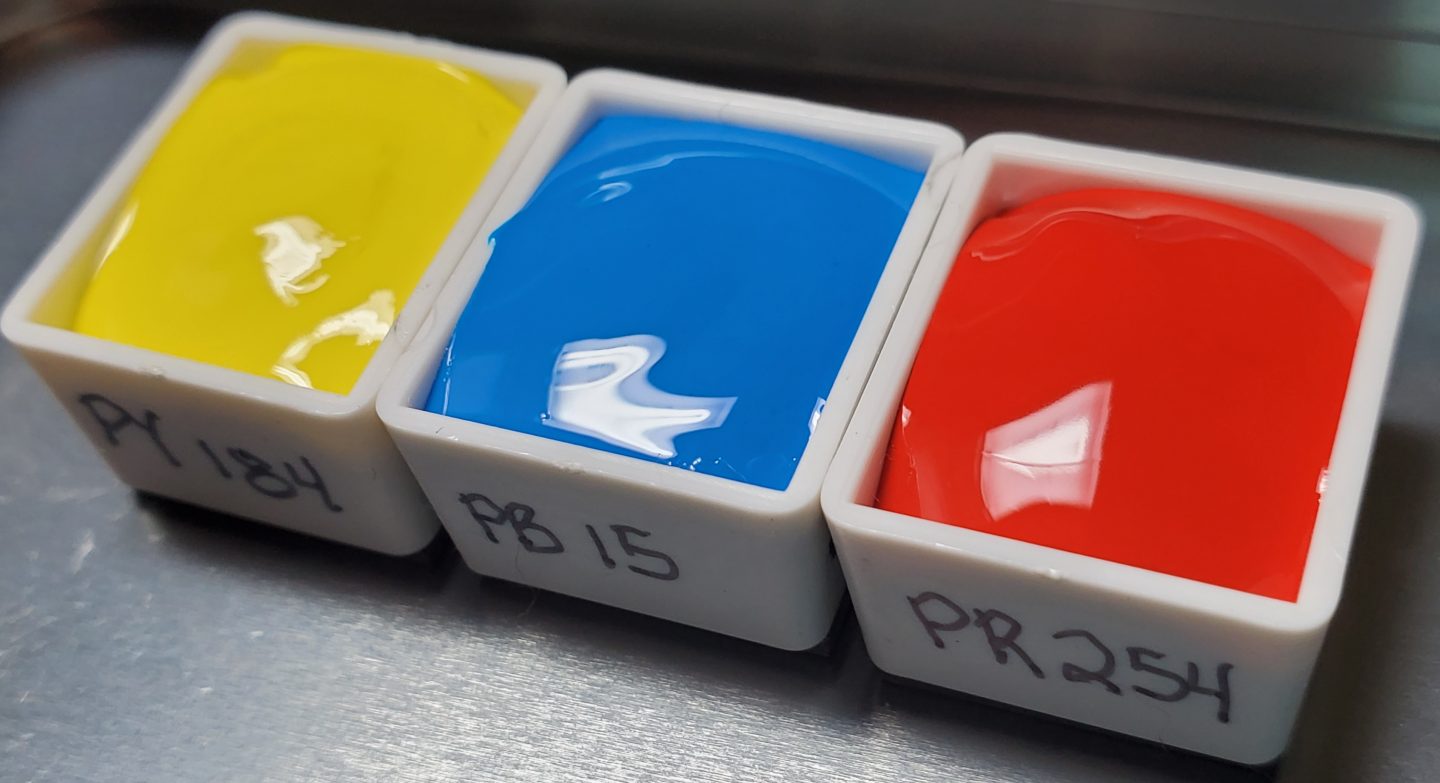
I’m using Arteza gouache to paint it. The opacity is a wonderful way to hide any line mishaps. It’s going to take awhile to paint, but I’m enjoying it!

Tiny, Dotty Art for the Scrapbook of Scraps

I set aside some time today to re-purpose colorful watercolor scraps to make some tiny art.

Awhile back, I made this dotty watercolor test out of some new Winsor and Newton Professional Watercolors I bought. I can’t remember what colors I mixed to make the background. I had it left over from a different project. The other colors are all Winsor & Newton straight from the tube and the list is as follows:

  • Manganese Blue Hue – PB15
  • Rose Dore – PV19, PY97
  • Indian Yellow – PO62, PY139

I used my beloved Arches Rough Watercolor Paper, which I wrote about in detail in a previous post (click here).

These are the steps I took to re-purpose this tiny scrap that was too colorful for the wastebasket…

Polkadotting the frame

My Spellbinder Platinum manual die cutting machine gets a daily workout. If you make tiny art, this is an invaluable tool to make mounts and frames. To make this frame, I used steel rule nesting dies to cut the ideal size frame for my picture. I used Astrobrights 65 lb/176 gsm bright white cardstock.

I decided that I wanted to make it extra dotty, so I used a Faber-Castell small-nib (0.3mm) Pitt Artist Pen to make tiny dots on the frame. The cardstock holds up well – there was no bleeding on the other side.

Closeup of the pre-glued frame

After I finished dotting the cardstock, I used Tombow MONO Multi-Liquid Glue to adhere the frame to the picture. Now that it’s dry, I get to find a home for it in my scrapbook!

Finished product

Faber-Castell Pitt Artist Pens Chart

Testing, testing!
Front of box
Nib diameter (back of box)

I did a line chart of an 8-pack of black Pitt Artist Pens so I can quickly choose the pen I need. This little set is well-rounded and will suit your needs if you are traveling lightly.

Sorry about the fuzziness on the left hand side. My scanner wasn’t cooperating with me. I also blurred out my last name in case you are wondering about the the triangles and such.